Synology: Bare metal backup using Active Backup for Business(When your laptop/desktop does not have ethernet port)
Synology have instruction guide to create recover usb drive for bare metal backup.
But this does not help(at least for non technical user) to create recovery usb drive when your laptop or desktop does not have ethernet port.
For this specific problem, I have provided high level steps. Hope you will get benefit from these steps.
Prereuisite:
Following will be available on Microsoft Site
1) Download and install the Windows ADK
2) Download and install the Windows PE add-on for the Windows ADK
Steps to create recover USB drive:


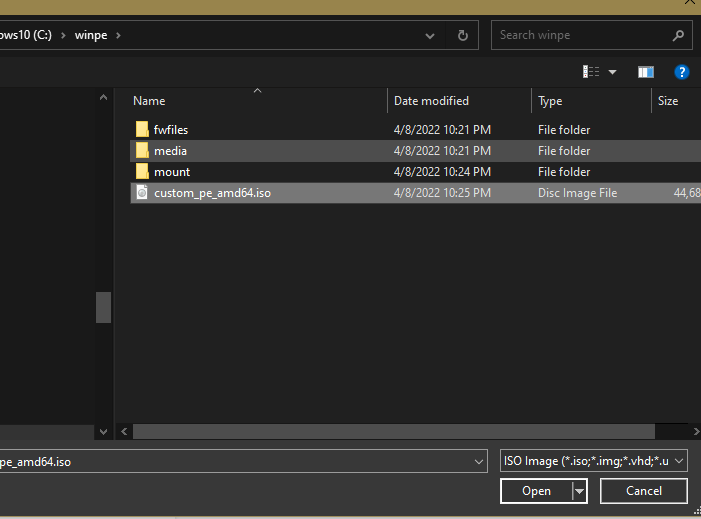
Burning ISO to USB drive using Rufus

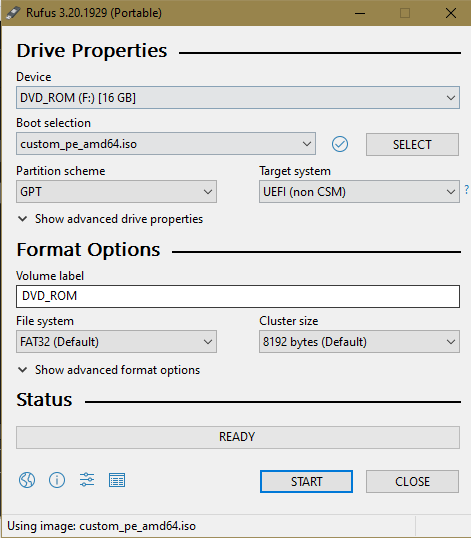

Gets USB drive ready for boot
Once USB is created add following folders in it.
driver/PENetwork_x64 (Download from https://www.penetworkmanager.de/html/downloads.html)
This folder has exe which we used during recovery process to connect WiFi
Wifi Driver (Download exe from dell(Or whatever your machine brand) site then extract .exe using 7Z software).This is required to load driver first when USB boot

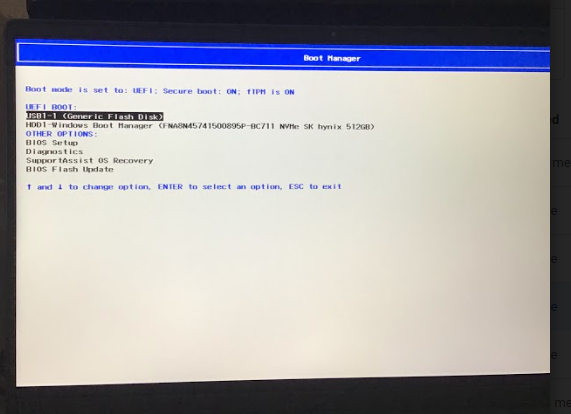
Boot machine from USB drive
Restart you machine, Press F2(Change depend on your machine) and select USB drive to boot from.
Now, If you face following error, Follow instrctution provided below screeshots

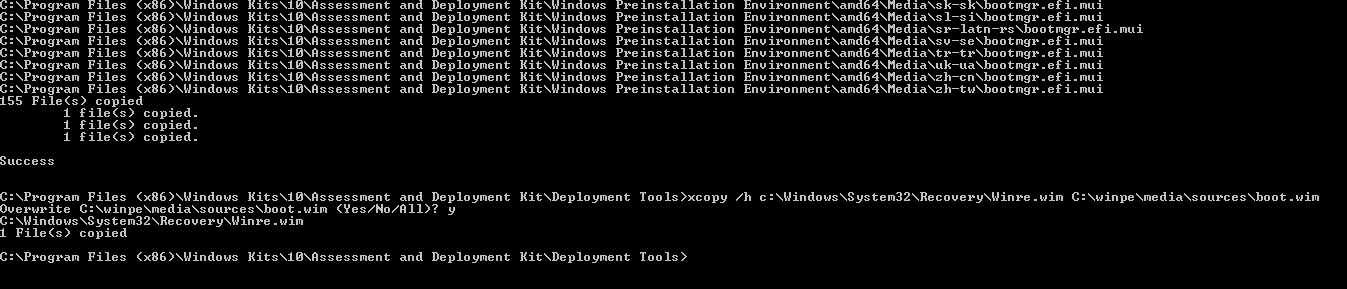
For recovery error, “Sources” folder in the root of USB has a ".WIM” file exists or not. If not, add “.WIM” files in it.

Now try boot again from USB. It should boot properly now.
Steps to follow after USB booted
Install Wifi driver. Click on Load Driver and select the driver you drownload from Dell website.

2. Copy PENetwork_x64.exe using following command
Xcopy E:\driver\PENetwork_x64 X:\PENetwork_x64
Note: Drive letter may change as per your machine
Go to X:\PENetwork_x64 in command prompt using following command.

Select wifi and enter password.
Once connected, It will ask Synology NAS IP, user and password.
Enter 192.168.1.211
User: admin
Password: *******


It will take some time to complete depend on size of backup
